
The Official 3D Modeling Thread (Ask, Showcase, etc.)
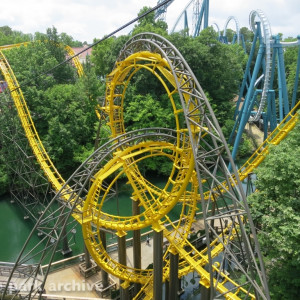
Attempting my very first custom train:

The upper section of that wheel assembly looks a little flimsy, not sure how well it would hold up under force, maybe try beefing that up a bit by having less open space in the middle. Like the look of the car design atm though, new gen Vekoma inspiration i assume?
It's supposed to be the actual thing. I'm done with it now, just gotta get it scripted:

Wait hang on im confused, didn't you already make these or am i thinking of someone else?
Must have been someone else. This was my first ever attempt at modeling trains :p

I tried Blender, and it turned out okay I think
(Oh and yes, that wheel is animated)
Hello, a bit of a noob question I know, but I was just wondering if somebody could please explain how to add a bump map to the textures used in a 3D model that has been imported from Sketchup? I've been trying various things in the MAT editor but to no avail unfortunately. Also, if someone could explain the differences between bump/specular/normal etc maps that would be great!

^^ This looks promising, I'd suggest you also try to apply some textures soon.
Here are some great tutorials and explanations about the materials in general and specifically in NoLimits 2, where many things are explained already.
In a nutshell:
Bump and normal maps are conceptually the same. They help to represent a deformed shape on a flat shape and pretend, as if the light on them would be scattered like on the original object.
You can get them for example from scans of real materials, some material creation tools or texture painting tools can generate them and typically you can bake them from high resolution objects in almost every 3d modelling environment.
In a bump map you store the displacement of an object (the greater the distance a point from the sphere is away from its ground plane, the more white it gets):

On a normal map the normal direction is stored, this is symbolized by the arrows and with a normal map the flat object pretends, as if its normal arrows would be like the ones of the sphere:

A specular map defines how bright specular reflections are. In this example the ground plate uses a full bright specular intensity while the "stones" use a lower specular intensity and I show the specular map on the plane above (note that the specular model gets outdated and more and more a models that use roughness and metalness is used).

.
In NL2 you can assign the bump map for example by opening the material that the plate uses and assign it a s a texture slot:

You also have to set that this texture slot uses it as a bump map (just play around with the height scale until it fits your needs).

You also have to set the lighting mode of this material to bump lighting and I would also recommend to add some reflections that are also affected by the bump lighting

Result when using the bump map:

Result when using the normal map:

For the specular map you have several option, but you cannot apply it directly, look at the more detailed tutorials mentioned above how to apply it. Result with the specular map from above.

And as a final goody the result with the specular map and a new normal map from the "stones" (I want to emphasize that the object is still a flat plane)

I did not realize how much a bumb/normal map can stick out of just a flat plane
Well, I tried the NL2mat editor but it's clear that I probably need to learn how to work with that editor
Without NL2mat texture

With NL2mat texture

Texture

Have you UV-unwrapped the mesh?
That was the issue, just unwrapped it and it works, thanks!
NoLimiters posted on October 11th, 2018
I did not realize how much a bumb/normal map can stick out of just a flat plane
Yeah I'm astonished myself sometimes what you can do with a flat plane by just using a color, normal and roughness map

That's why I tend to say that textures are often much more important than the geometry for game objects.
The wooden coaster tracks are another amazing example of how bump mapping can be used. I must have spent some time just figuring out whether that is physical or a bump map.
It's amazing what can be done with textures nowadays.
Thank you so much for that in depth and clear explanation Dani, really appreciate it.
I found these flat rides on Coastergalexyworlds website. !http://coaster-galaxy-world.de/resources/categories/flatrides.4/ They all need passwords though. I was starting to make a mountaintop funfair with a jetcoaster going around the edge of the whole thing. I was going to use these flat rides. But i guess not since they all need passwords. Whats the point of a resource for people to study how the flat ride was made when you cannot even extract it.
The idea is not to study how they are made (you can watch his live streams if you are interested in this) but to make them playable on lower range computers which cannot even handle them properly in the carefully designed larger funfair map where they are all present at once.
These rides were not designed to be suitable to be placed in random NL2 maps but are designed to be played in the specialized funfair maps where many measures have been taken to balance the ride quality and performance and now are even available to be played in standalone packages.

Has anyone made a Larson Flying Scooters model I could use?
How many polygons is that...


Working on one of a few train chassis setups for new custom coaster system. This will be the 4 - across seating version.
Can you make the geopanic trains with the seat cages? !http://www.themeparkreview.com/japan2004/geopanic2.jpg

Element 115 posted on October 20th, 2018
Working on one of a few train chassis setups for new custom coaster system. This will be the 4 - across seating version.
Looking nice there, Element.
I have a question for anyone who can help me. It's about the badges on the car bits for my Viper ride.
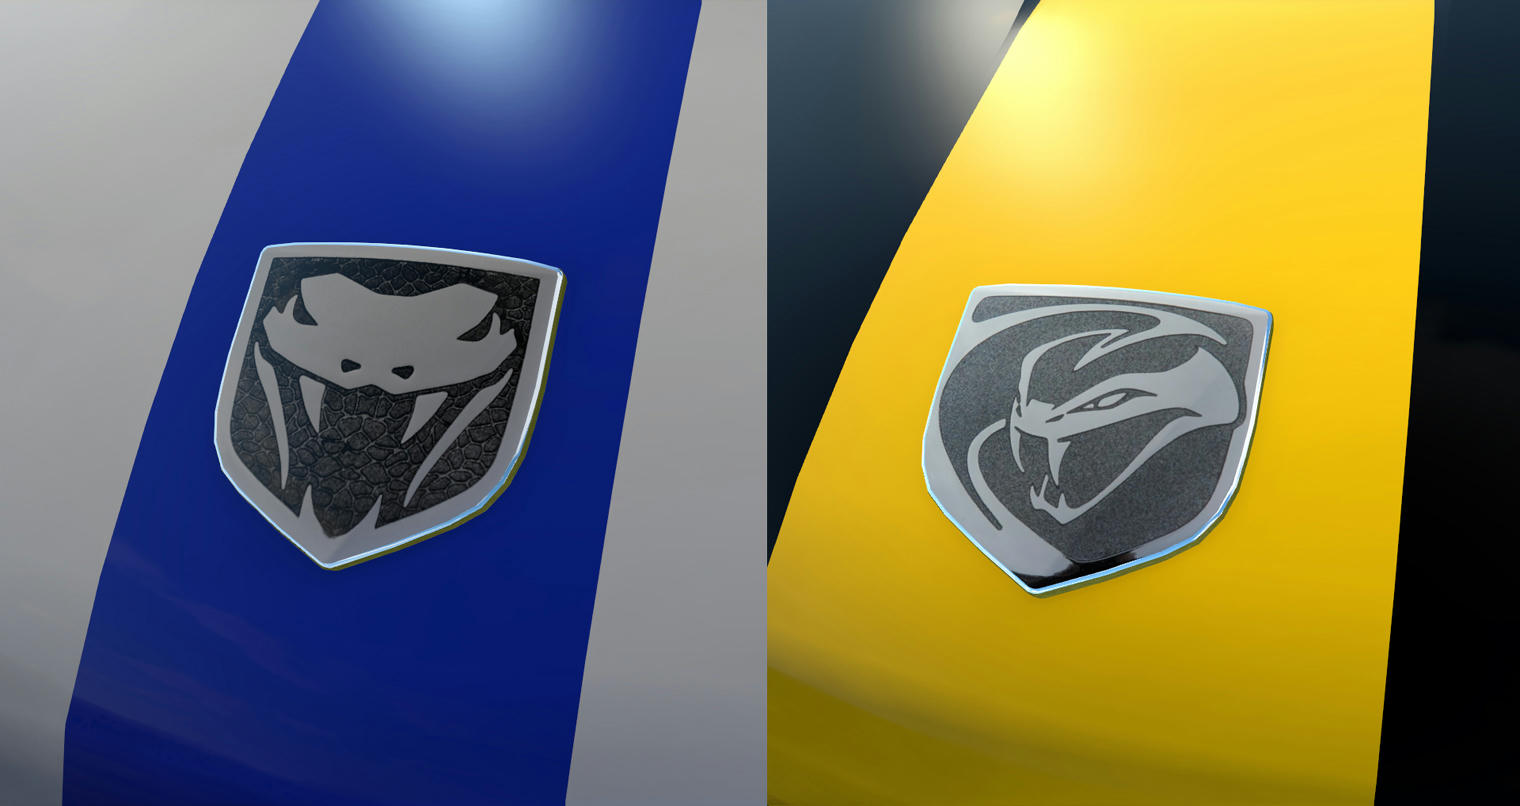
I'd like to change the light grey sections of the badge texture and have them as a chrome NL2mat i did up, like i've used around the edges. So the snake logo is in chrome, like the real ones.
Now, i have an idea to try involving adding a separate face using the chrome NL2mat slightly offset behind the logo texture plane, and modifying the image texture to use an alpha channel, so you can (hopefully) see the chrome NL2mat through it.
But i'm just wondering if there's a better, easier, more efficient way to do something like that.
Alpha channel sounds good, but instead of using it for transparency effects (which are often slow), you can use it to change the specular (reflection) amount on the single material directly.
A quick mockup with the screenshots from above:
When you use the following reflection settings:

You can use the alpha channel like this in a custom shader:

There are many more similar possibilities, if you rather like to control the material by metalness and roughness you could do it like this for example:

Cool, thanks Dani. I'll give that a try. Saves me having to modify and re-export the model, lol.
You see, i don't really know that much about the custom shader core. If i had better knowledge on how to go about using it, i could probably use it to do some nice stuff.
I have used the array modifier method before on a project. I've even tried the stairs you can make using the Archipack add-on. I guess i take a different approach each time, testing different ways to see which is quick, easy and gives a good result with minimal fuss. The stairs i did last night were just basic ones with walls on either side, like something you'd see in a subway station. Tunnel stairs?
I'll prob use the array modifier for the next lot i do.
Thanks SI and Dani.